How To Test Water Pressure at Home
How To Test Water Pressure at Home
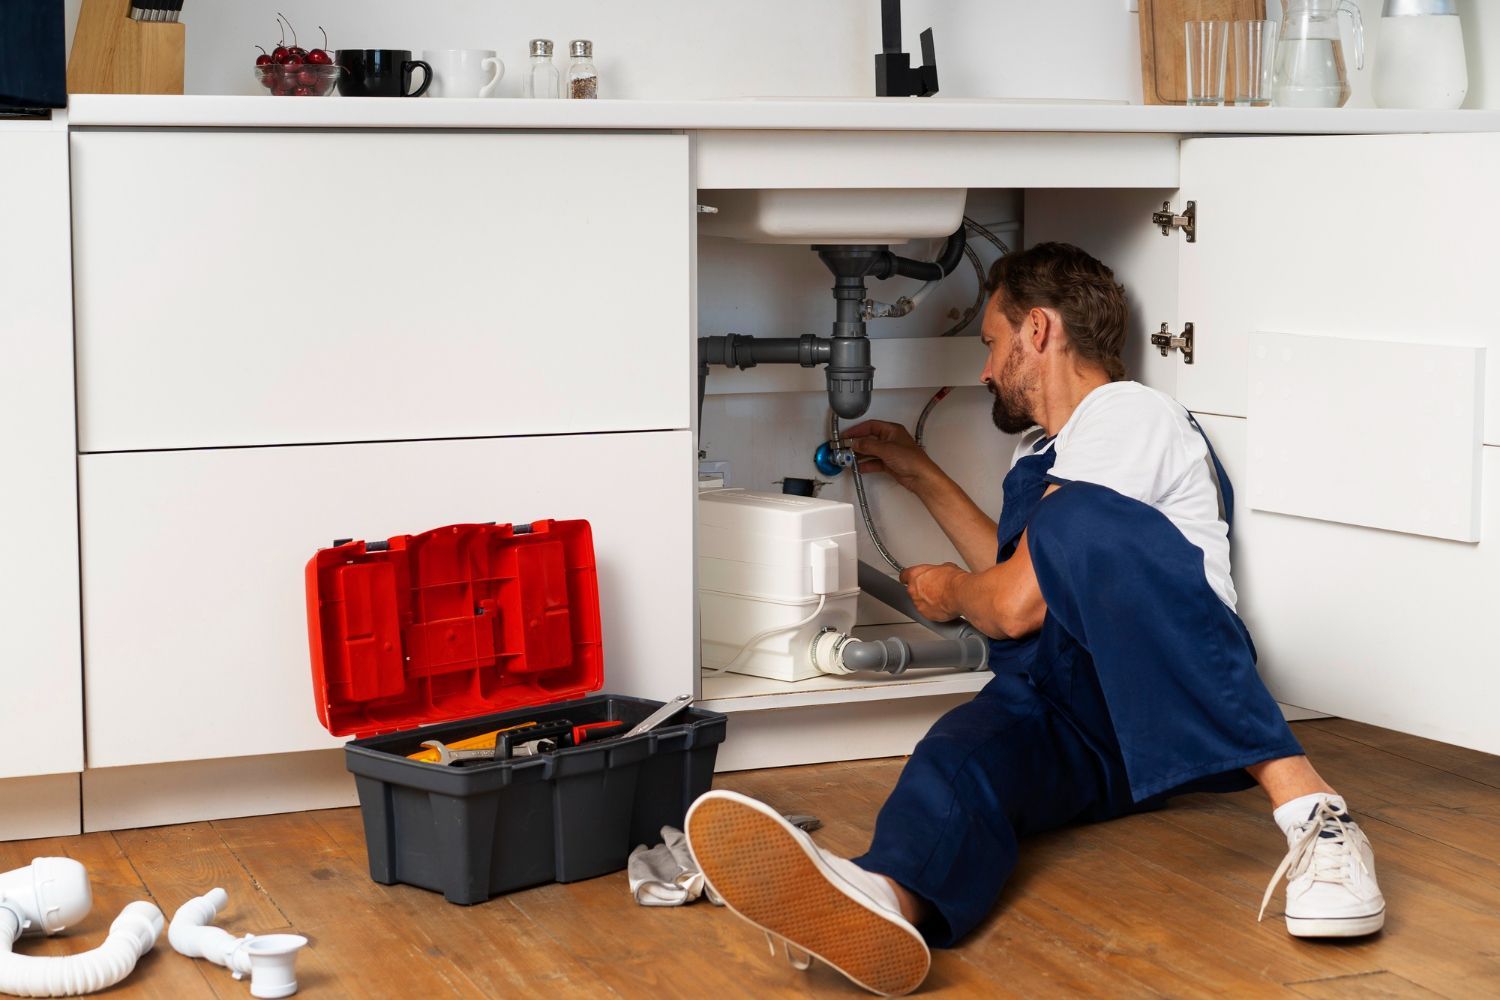
Experiencing fluctuating water pressures at home can be more than just an annoyance; it can indicate underlying plumbing issues that might require attention. Whether it's a sudden drop in pressure that disrupts your daily shower or a consistent overpressure threatening the longevity of your appliances, understanding how to check your home's water pressure is a practical skill every homeowner should possess. This article will walk you through a simple, do-it-yourself method to accurately measure your water pressure. This know-how not only equips you to maintain your household's plumbing efficiency but also helps in identifying potential problems before they escalate. Stay tuned as we dive into the steps to perform this essential home maintenance task, ensuring your plumbing system, serviced by experts like Millennial Plumbing & Tankless, operates optimally.
Understanding the Importance of Correct Water Pressure
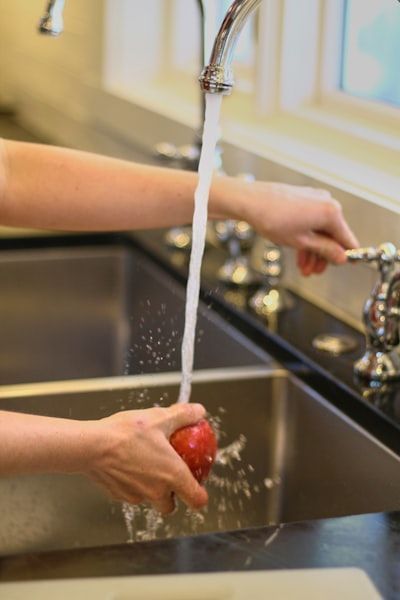
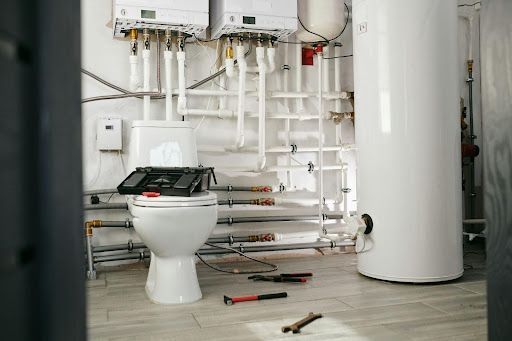
Before diving into the testing procedures, it's critical to understand why maintaining the correct water pressure in your home is essential. Optimal water pressure ensures the smooth functioning of household appliances that depend on water flow, such as washing machines, dishwashers, showers, and toilets. The ideal water pressure for residential buildings typically ranges from 40 to 60 pounds per square inch (psi). Pressures below this range can lead to inefficient appliance operation and unsatisfactory water delivery. Conversely, pressures too high can strain your plumbing fixtures and pipes, potentially leading to leaks or burst pipes.
Tools Needed To Test Water Pressure
To start testing your water pressure, you’ll need a few basic tools:
Water Pressure Gauge:
This device is crucial for this task. Choose one that can attach directly to the tap and is capable of reading up to 100 psi.
Thread Seal Tape:
Also known as plumber's tape, this helps prevent leaking at the connection point when attaching the gauge to your tap.
Notepad and Pen:
Optional but handy for recording the pressure readings at different times or in various areas of your home.
Step-by-Step Guide on How To Check Water Pressure
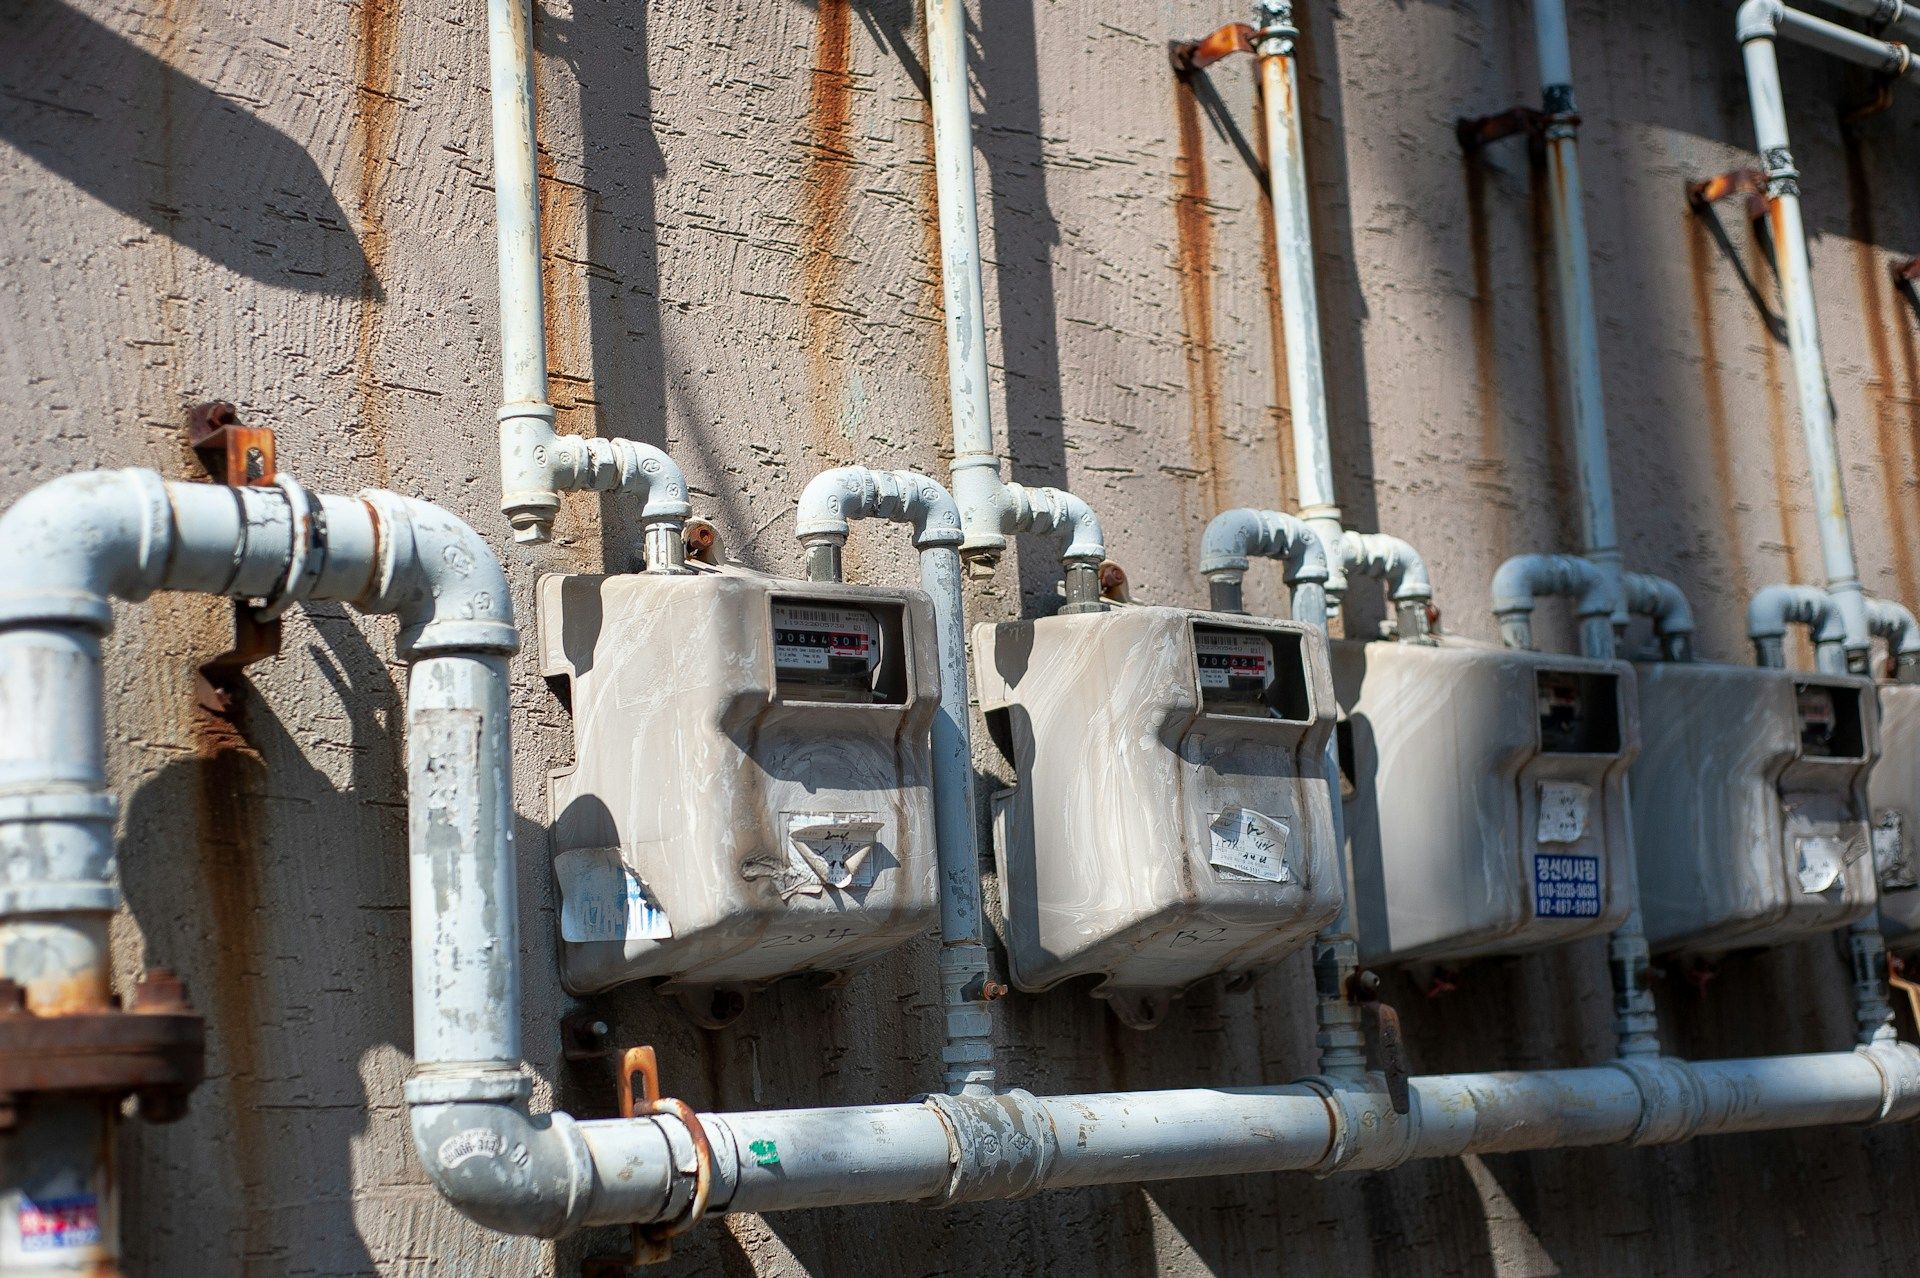
Choose the Right Tap:
Begin by selecting a tap nearest to your home's main water supply or meter. This will typically provide the most accurate reading. Avoid using taps that have water filters and aerators or are designed for low flow.
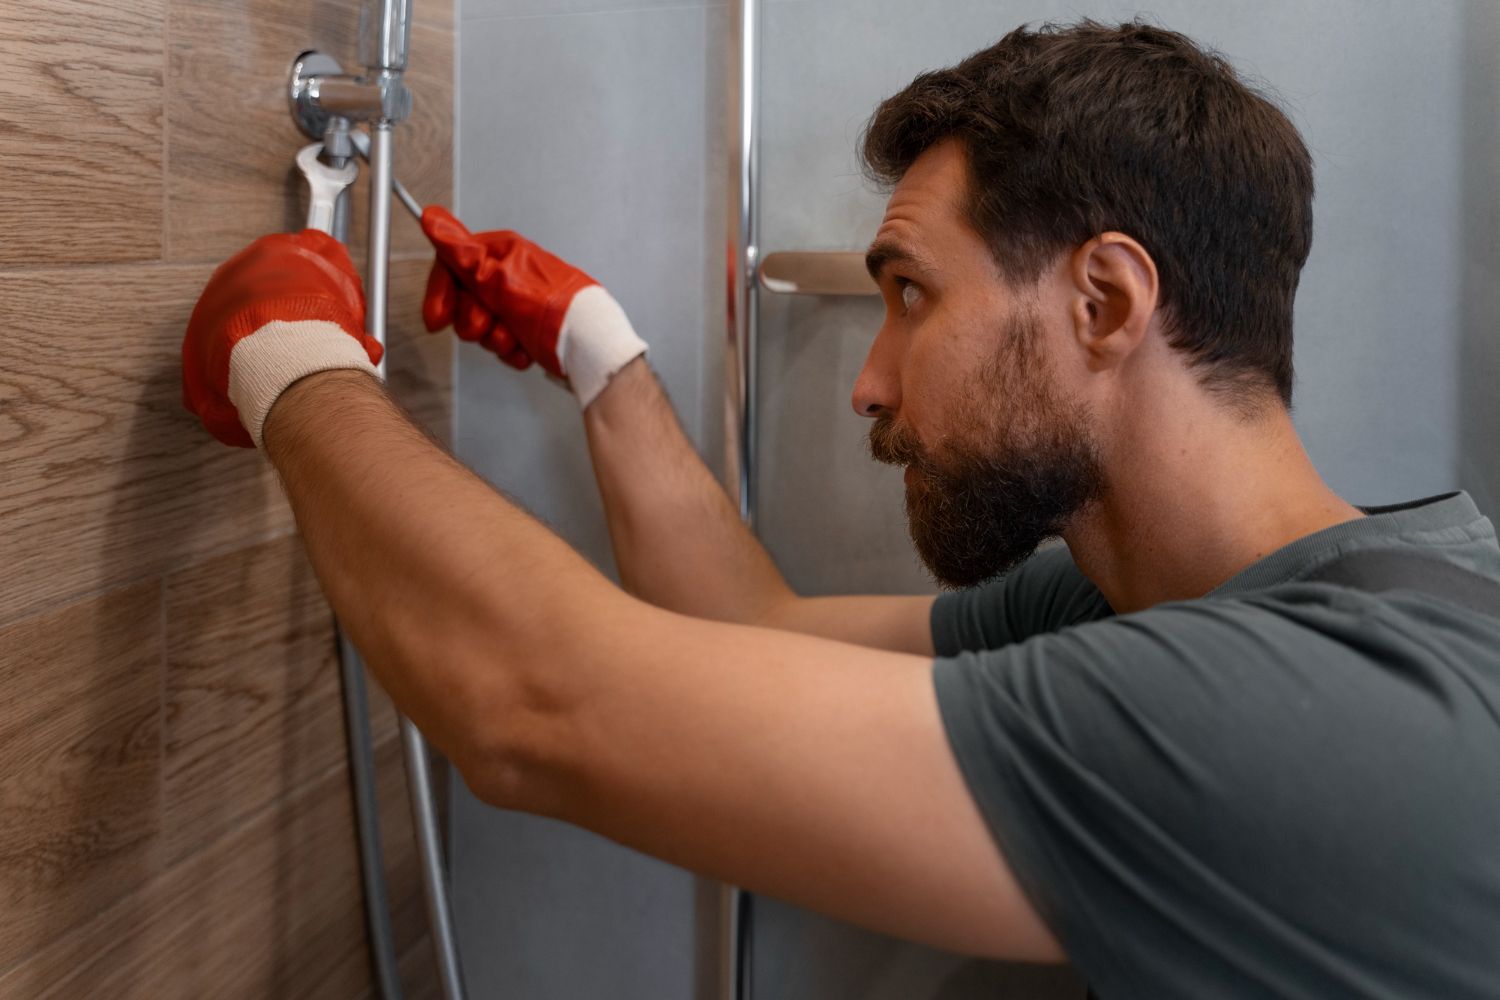
Attach the Pressure Gauge:
Shut off all water appliances in your home to ensure no water is being used. Wrap the threads of the tap with thread seal tape to ensure a tight seal, then carefully screw on the pressure gauge.
Read the Gauge:
Turn on the tap fully and observe the reading on the gauge. It’s best to record this reading during both peak and off-peak usage times to get a comprehensive understanding of your home's water pressure throughout the day.
Interpreting Results:
A reading within 40-60 psi is ideal. If the pressure is below 40 psi, your home experiences low water pressure, which could be due to blocked service pipes, low supply from the main source, or faucet issues. High readings above 60 psi, particularly over 80 psi, can pose risks of damage to your plumbing.
Additional Testing and Variations
To thoroughly understand how stable your water pressure is, it’s advisable to conduct multiple tests:
Test at Different Times:
Check your water pressure at different times, such as early morning, midday, and evening. Variations can occur due to overall community demand on the water supply system.
Check Multiple Locations:
Water pressure can vary in different parts of your home, especially if it has multiple stories or extensive plumbing. Test on all floors and both ends of the home to check for consistency.
Re-Testing:
Regular monitoring, such as on a monthly basis or after significant plumbing alterations, can help catch issues early.
What To Do if Your Water Pressure Is Not Ideal
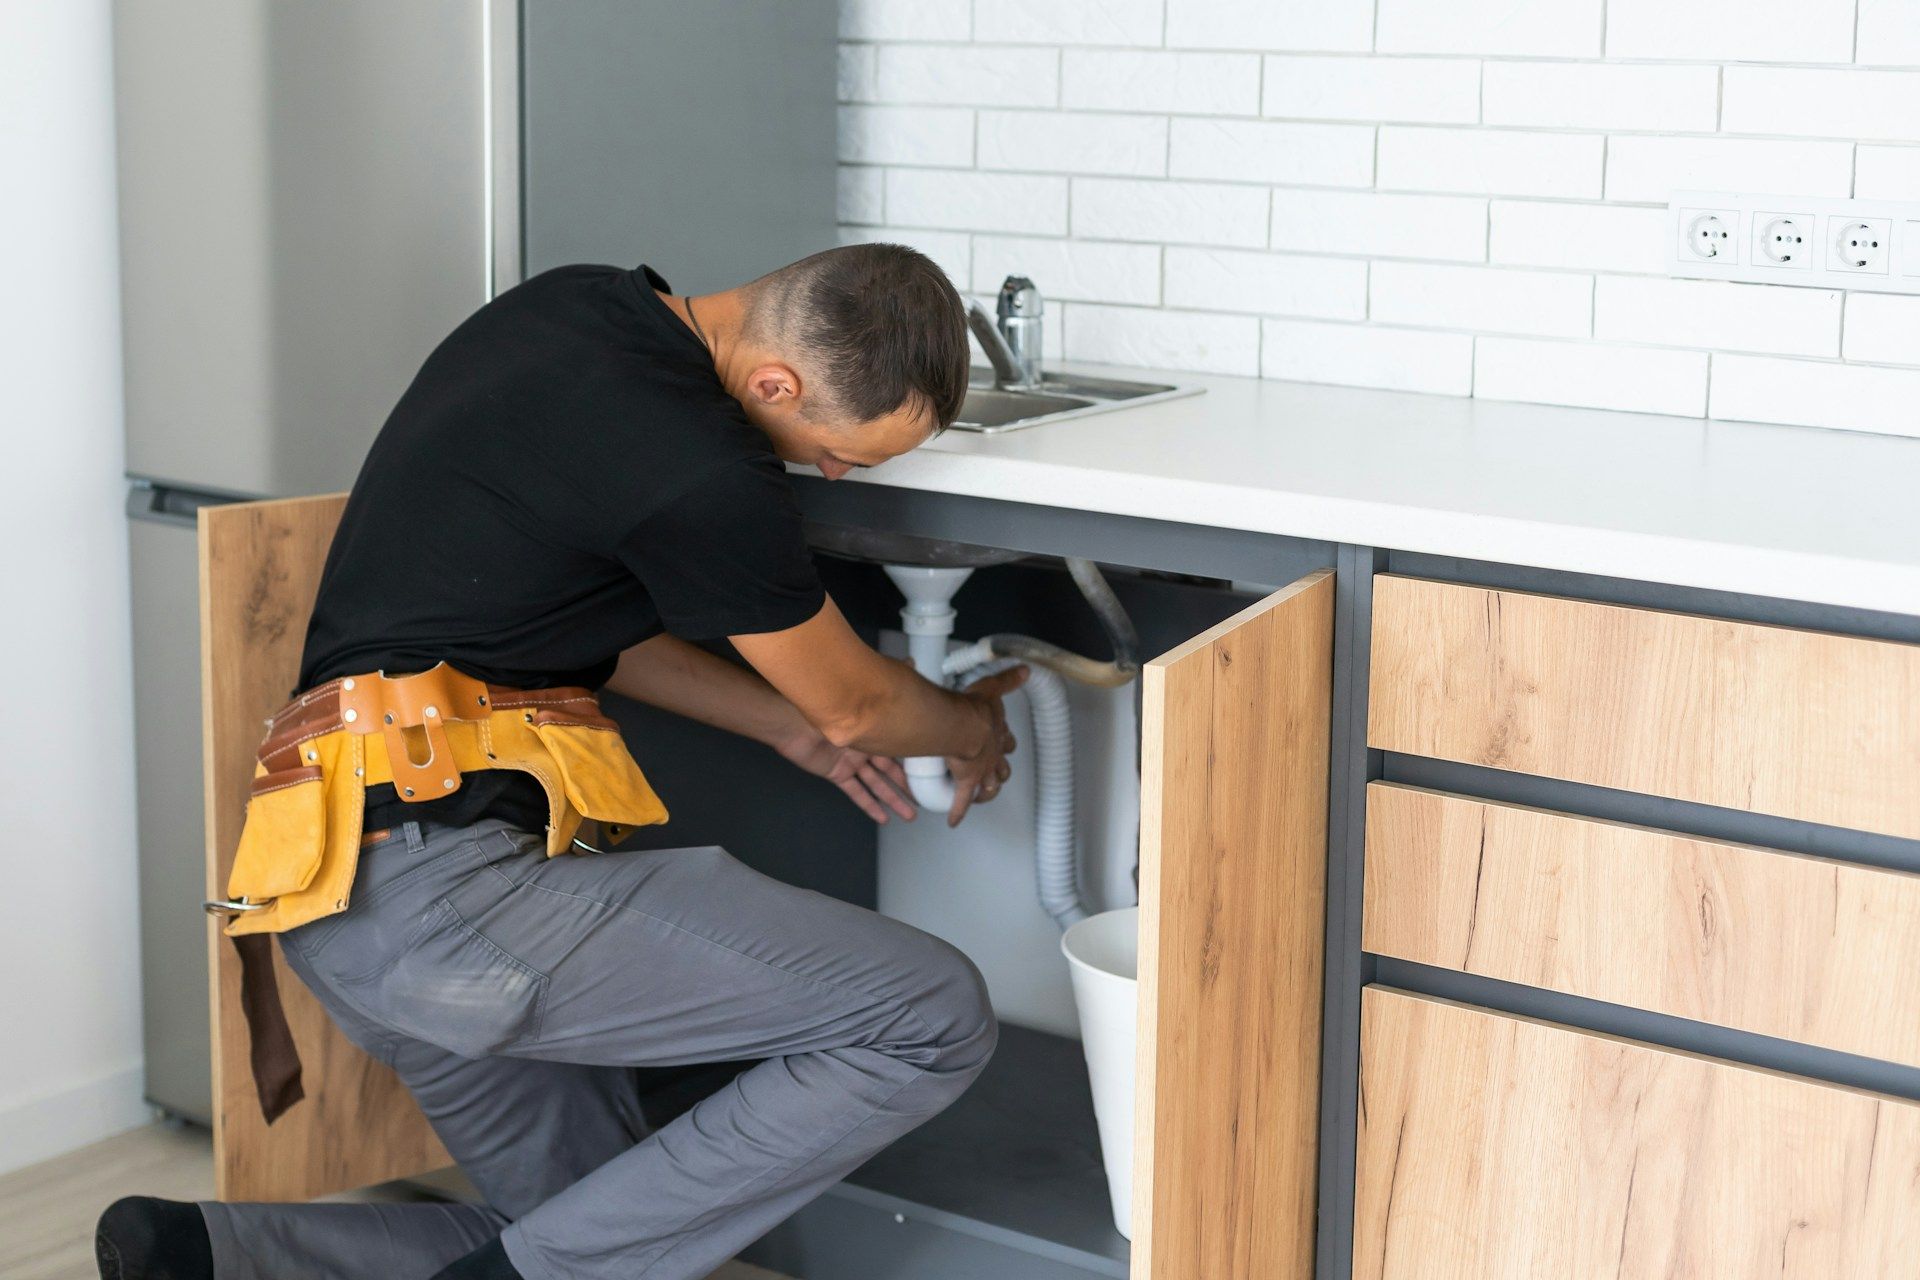
For Low Pressure:
Consider consulting with a plumber to check for clogs or leaks in your pipes. Upgrading your main service pipe can also sometimes resolve pressure issues.
For High Pressure:
Installing a pressure regulator on your main service line can reduce and stabilize the pressure entering your home. This simple adjustment can protect your plumbing system from the risks associated with high pressure.
Preventive Measures and Maintenance
Maintaining optimal water pressure isn’t just about adjustments after testing; ongoing vigilance is required:
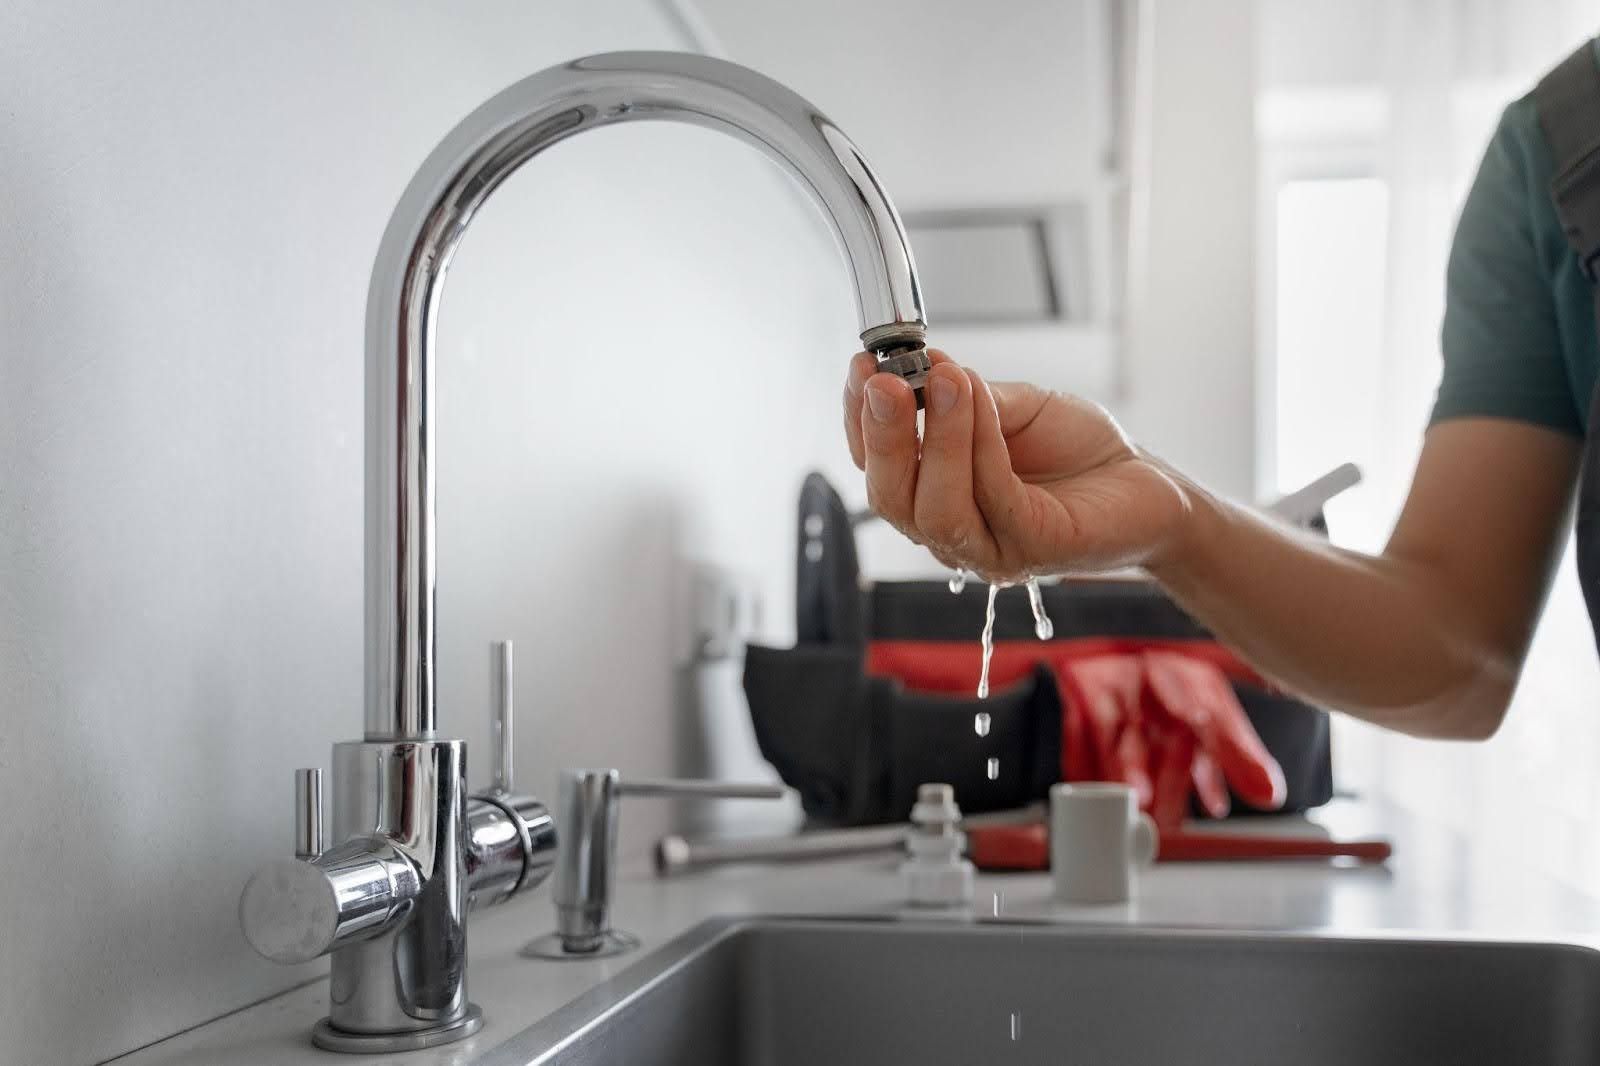
Regular Cleaning:
Make sure to regularly clean aerators on taps and showerheads to prevent blockages that can simulate low pressure.
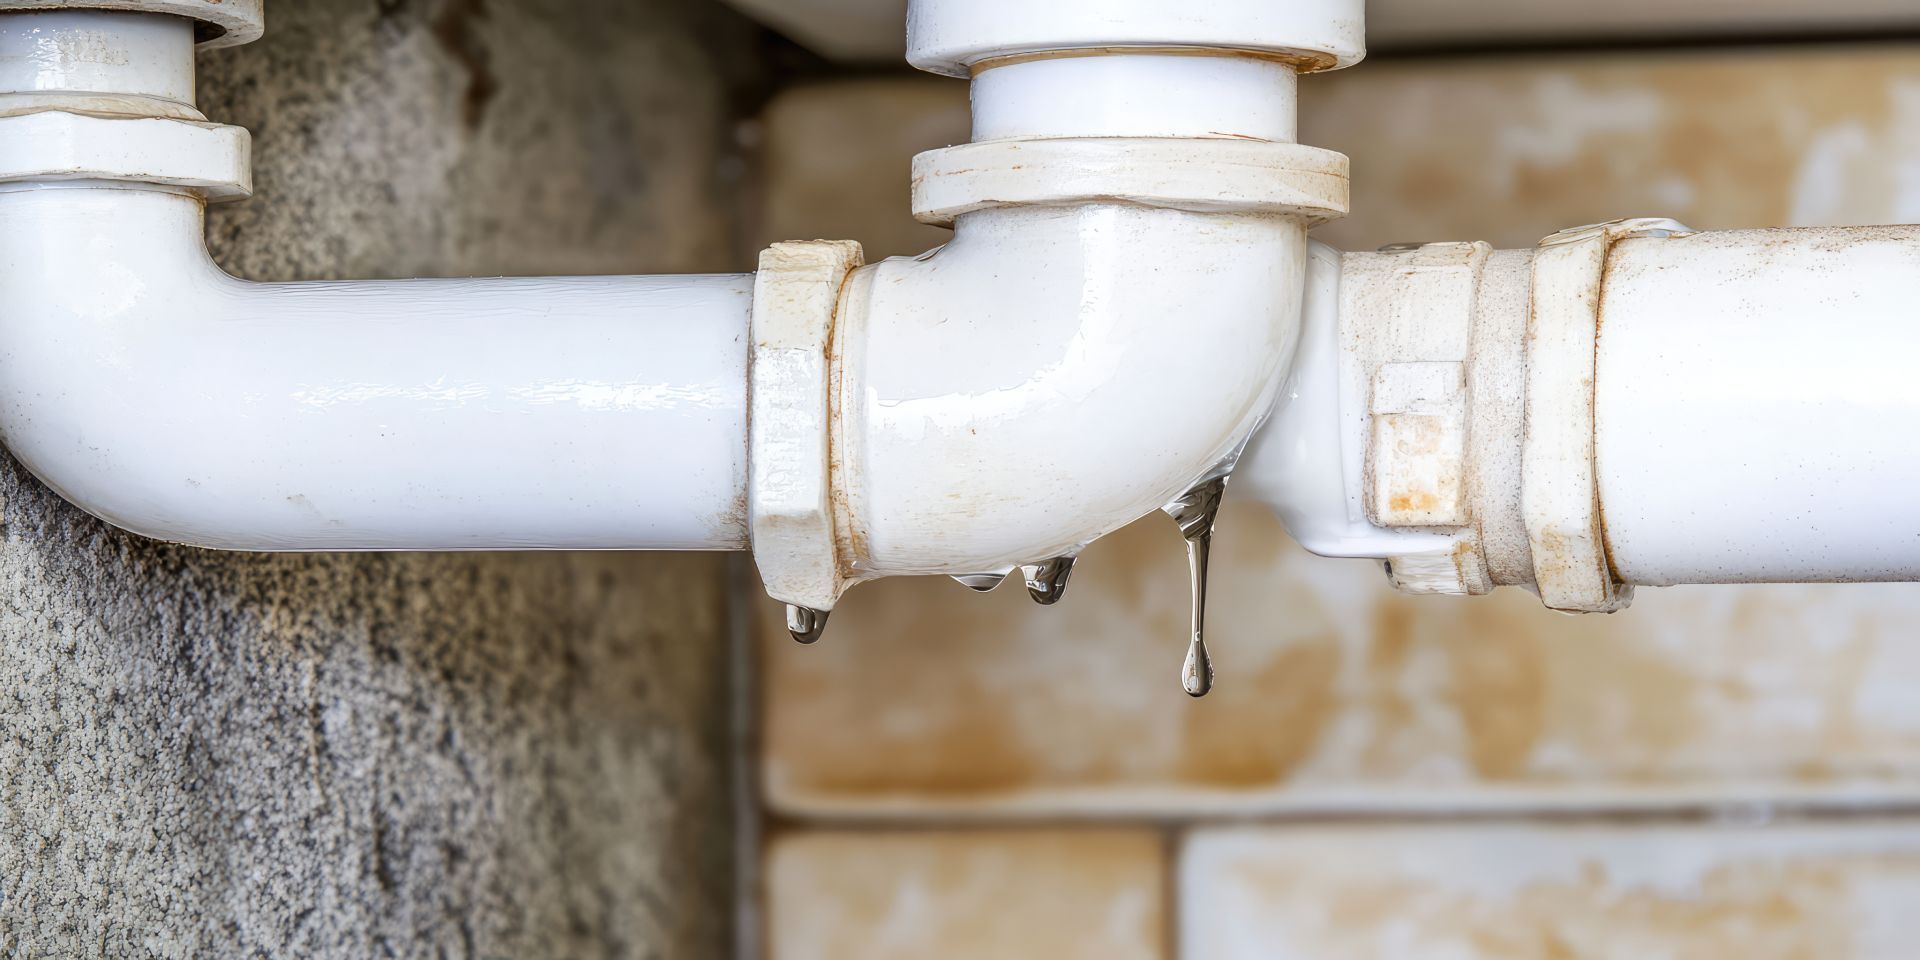
Watch for Leaks:
Even minor leaks can affect your home's water pressure and lead to costly water waste. Regularly inspect your plumbing system and address leaks promptly.
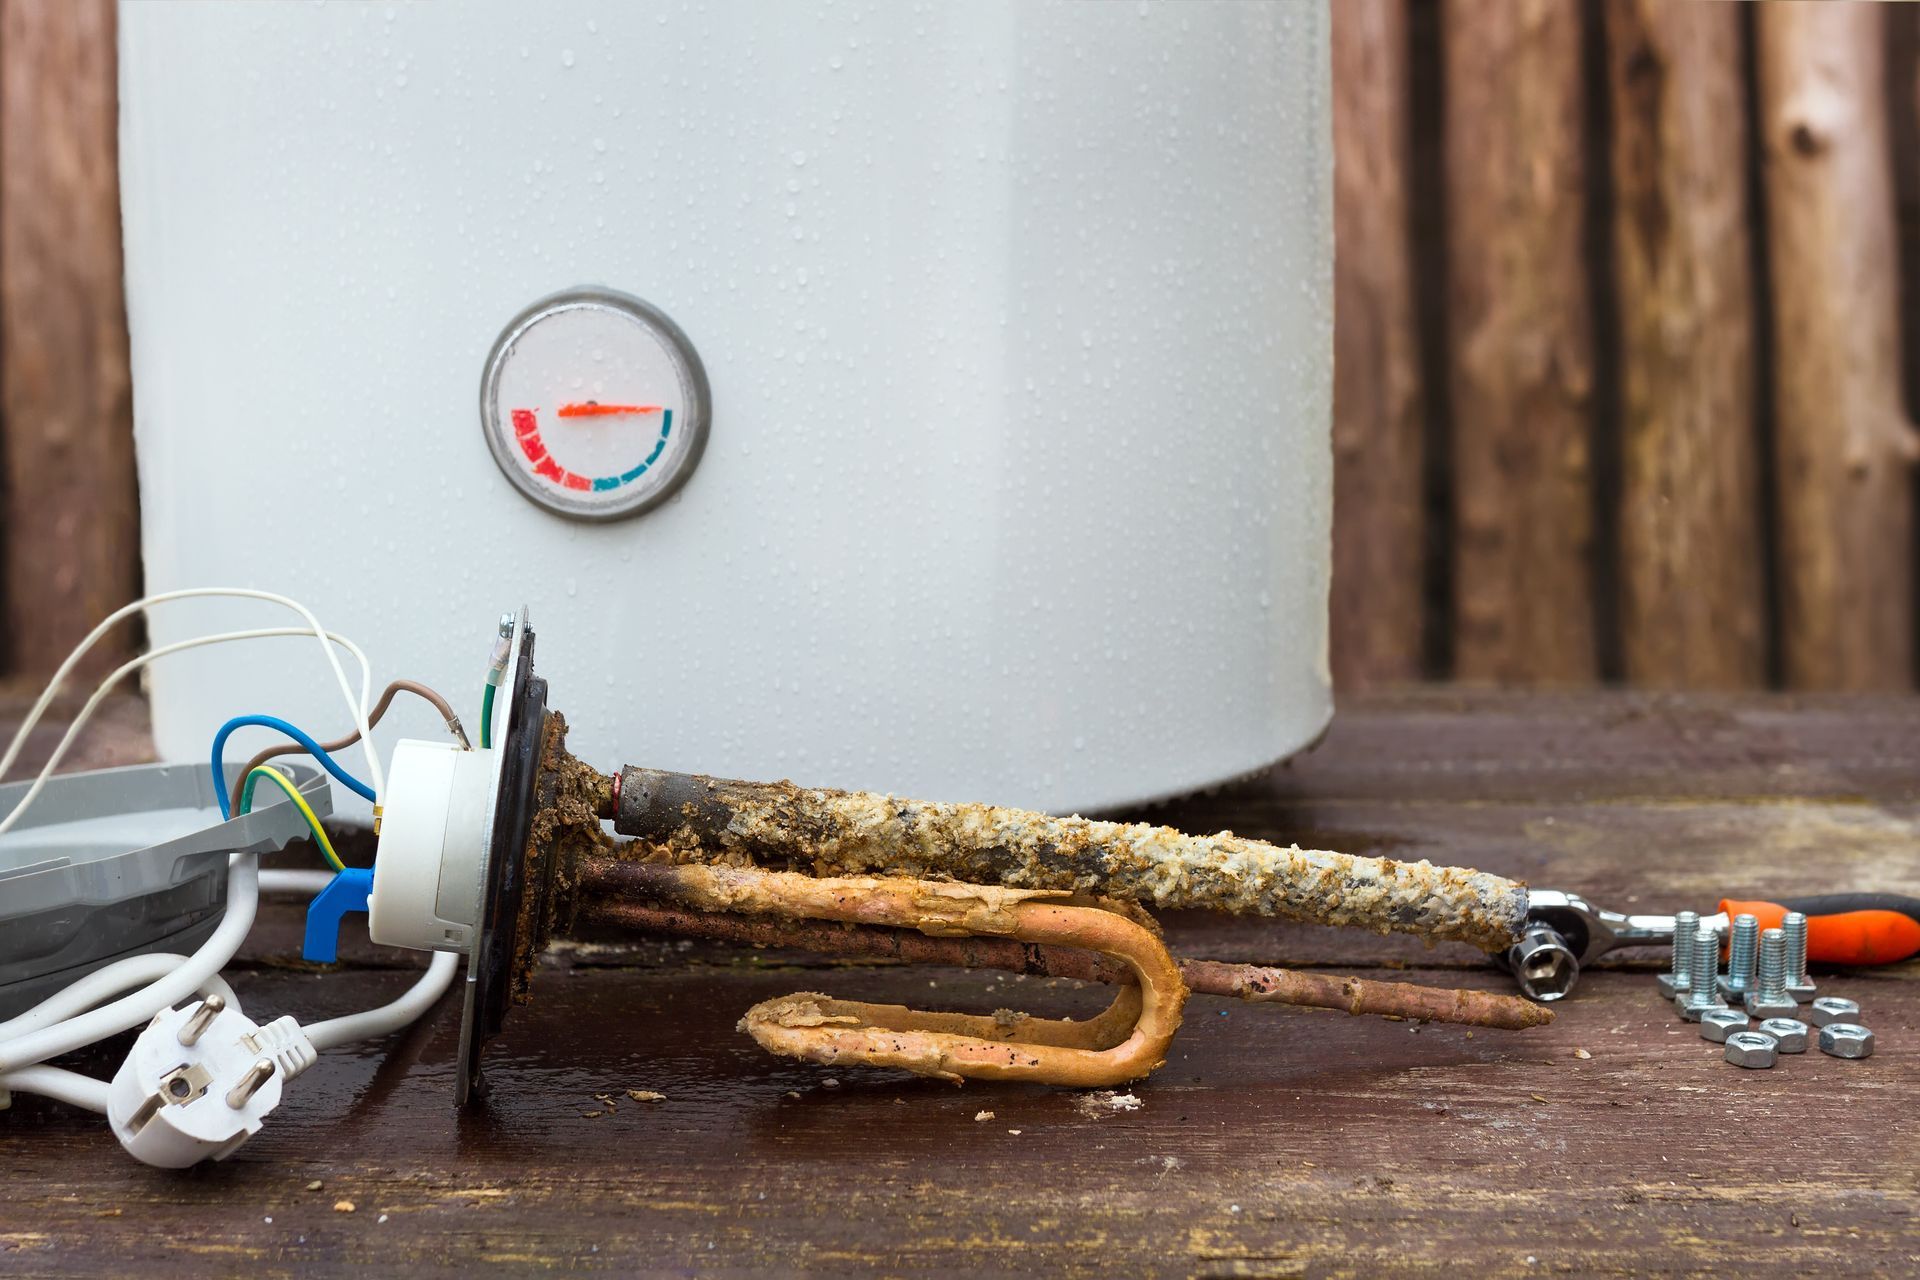
Professional Inspections:
Annual inspections by a qualified plumber can help identify potential problems that might not be obvious to the average homeowner.
By understanding how to test water pressure at home and taking proactive steps to manage it, you ensure that your plumbing system remains efficient and robust, preventing unexpected disruptions and costly repairs. This initiative not only enhances your home's functionality but also contributes to its overall longevity.
Ensuring Optimal Water Pressure in Your Home
Maintaining the correct water pressure is crucial for the health of your home’s plumbing system and the comfort of your daily life. By regularly checking your water pressure using the simple steps outlined, you can avoid the pitfalls of both low and high water pressure. Remember, while DIY methods are effective for basic monitoring, significant issues should be handled by professionals.
If your water pressure test reveals any alarming discrepancies, don’t hesitate to contact us at Millennial Plumbing & Tankless. Our expert team is equipped to diagnose and resolve any plumbing issues, ensuring that your water system functions flawlessly. Trust us to provide durable solutions that keep your home in excellent condition.